If you’re a citizen of Belize or Benin planning to visit India, getting the right visa is crucial. This article will guide you through the process step by step.
You’ll learn how to determine the visa type you need, gather necessary documents, fill out the online application, pay the fee, schedule an appointment, and attend the visa interview.
By following these instructions, you’ll be well-prepared to navigate the Indian visa application process smoothly. So, whether you’re traveling for leisure, business, or any other purpose, understanding the steps involved will help you secure your Indian visa hassle-free.
Let’s get started on your journey to India!
Key Takeaways
- Determine the visa type needed based on visit purpose and duration.
- Check visa eligibility criteria for Belize and Benin citizens according to their nationality.
- Prepare and submit all required documents for the visa application.
- Schedule an appointment at the Indian Embassy or Consulate and prepare for the visa interview.
Determine the Type of Visa You Need
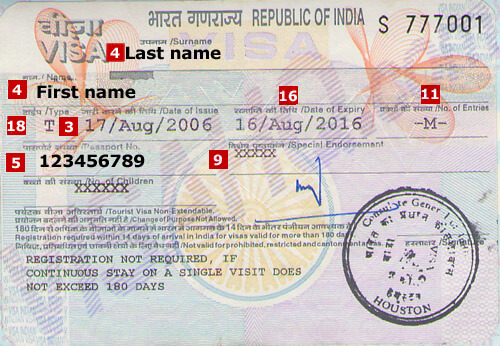
When planning your trip to India, it’s essential to determine the type of INDIAN VISA FOR BELIZE CITIZENS or INDIAN VISA FOR BENIN CITIZENS you’ll need as a citizen of Belize or Benin. The first thing to consider is the visa duration. Depending on the purpose of your visit, you may need a tourist visa, business visa, student visa, or medical visa. Each type of visa has its own validity period, so make sure to choose the one that aligns with your travel plans.
Next, you’ll need to check the visa eligibility criteria for citizens of Belize and Benin. The requirements may vary based on your nationality, so it’s important to review the specific guidelines for your country. Generally, you’ll need a valid passport, a completed visa application form, a recent passport-sized photograph, proof of sufficient funds for your stay, and a return ticket.
Once you’ve determined the type of visa you need and confirmed your eligibility, it’s time to gather the required documents. This includes your passport, visa application form, photograph, proof of funds, and return ticket. Be sure to double-check that you have all the necessary paperwork before submitting your visa application.
Gather Required Documents
To successfully complete the application process, you’ll need to gather all the required documents. Here’s a quick guide to help you prepare for the submission process:
- Document Preparation: Make sure to have your passport with at least six months’ validity beyond your intended stay in India. You’ll also need a recent passport-size photograph, a filled-out visa application form, and proof of travel arrangements such as a round-trip ticket.
- Visa Category Selection: Determine the type of visa you need based on your purpose of visit, whether it’s for tourism, business, medical treatment, or other reasons. Ensure you meet the eligibility criteria for the specific visa category you choose.
- Submission Process: Once you have all the necessary documents ready, submit them along with the visa application form through the online portal or at the Indian embassy or consulate in your country. Double-check everything to avoid any delays or rejections.
Now that you have gathered all the required documents, you can proceed to fill out the online application form for your Indian visa.
Fill Out the Online Application Form
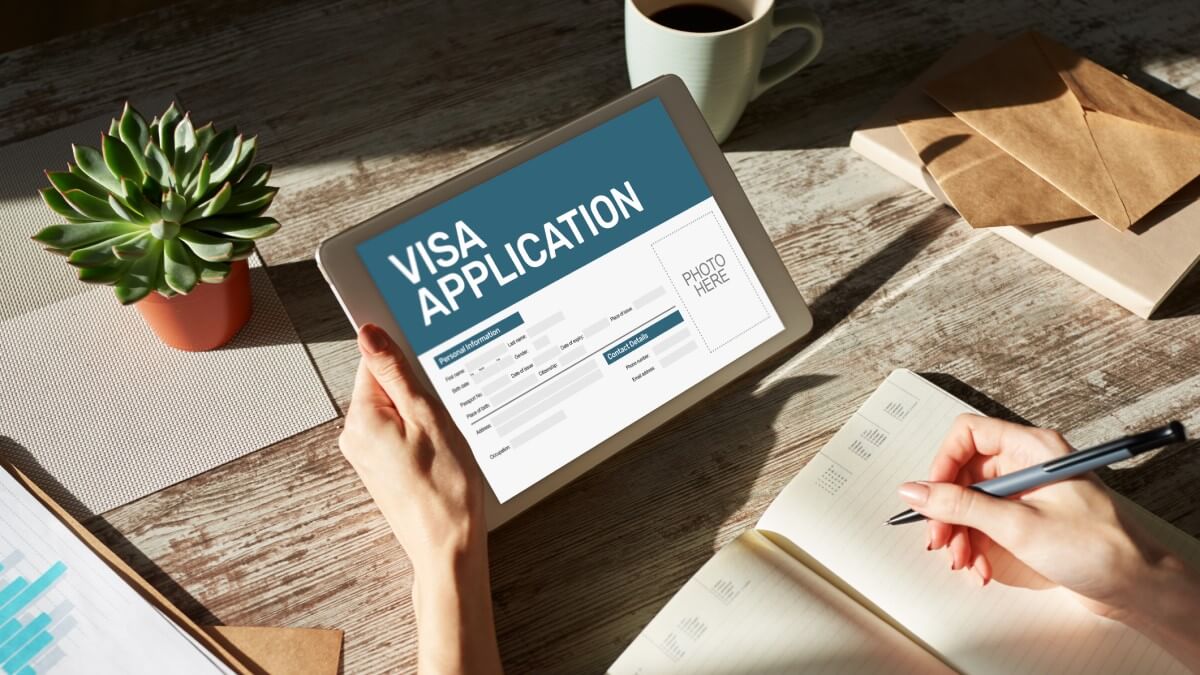
Get ready to breeze through the online application form by following these simple steps. The Indian visa application process for Belize and Benin citizens is now easier than ever with online assistance available to guide you through the process.
To begin, visit the official Indian visa website and click on the ‘Regular Visa Application’ link. Create an account and fill in your details accurately. Make sure to have all the required documents handy, as you will need to upload them during the application process.
As you fill out the online form, double-check all the information you provide to ensure accuracy. Be prepared to answer questions about your personal details, passport information, travel plans, and contact information. Once you have completed the form, review it one last time before submitting to avoid any errors.
After successfully submitting your online application form, you will receive a reference number. This number will be essential for tracking the status of your visa application. As you move on to the next section about paying the visa fee, remember to keep this reference number safe for future reference.
Pay the Visa Fee
Once you’re done filling out the online application form, it’s time to pay the visa fee. The payment options for your Indian visa include online payment through credit or debit cards, as well as other specified methods. The processing time for your payment will vary depending on the method you choose, so be sure to check the estimated timeframe to ensure timely processing.
If you are eligible for a fee waiver based on certain criteria, make sure to provide the necessary documentation to support your request. This could include proof of financial hardship or other qualifying factors. Once your fee waiver is approved, you can proceed with the payment process using the designated method.
When making the payment for your Indian visa, it’s essential to double-check all the information provided and ensure accuracy to avoid any delays or complications. Once the payment is successfully processed, you will receive a confirmation email or notification with further instructions on the next steps.
Now that you have completed the payment for your Indian visa, you can move on to the next phase of the process: scheduling an appointment at the Indian embassy or consulate. This step is crucial for the finalization of your visa application, so be sure to follow the guidelines provided to secure your appointment slot.
Schedule an Appointment at the Indian Embassy or Consulate
Don’t forget to plan ahead and secure your appointment at the embassy or consulate for a smooth finalization of your application process. Scheduling an appointment is a crucial step in obtaining your Indian visa, so make sure to follow these tips to streamline the process:
Check Appointment Availability: Before making any plans, ensure that there are available slots for visa appointments at the Indian Embassy or Consulate in your area. Sometimes, there may be long waiting times due to high demand, so it’s best to book your appointment as early as possible.
Know the Embassy Location: Familiarize yourself with the location of the Indian Embassy or Consulate where you will be attending your visa appointment. Make sure to plan your travel route in advance and consider the accessibility of the embassy for a hassle-free experience.
Prepare Required Documents: Before your appointment, gather all the necessary documents required for your visa application. This includes your passport, visa application form, photos, and any supporting documents requested by the embassy.
Arrive on Time: On the day of your appointment, arrive at the embassy or consulate on time to avoid any delays. Being punctual shows respect for the process and can help make a positive impression on the visa officers.
Once you have successfully scheduled your appointment and gathered all the required documents, you will be ready to attend the visa interview at the Indian Embassy or Consulate.
Attend the Visa Interview
Make sure to attend your visa interview at the embassy or consulate to complete the application process. This is a crucial step in obtaining your Indian visa. It is essential to prepare answers to potential questions that may be asked during the interview. Be honest and concise in your responses to ensure a smooth process. Dress appropriately for the interview, opting for business casual attire to make a good impression on the consular officer.
During the visa interview, be prepared to provide additional documentation if requested by the officer. Answer questions confidently and truthfully, demonstrating your genuine intent to visit India for the purpose stated in your application. The interview is a chance for the officer to verify information and assess your eligibility for the visa, so it is important to be well-prepared and present yourself professionally.
After the interview, you will need to await approval and receive your visa. This is the final stage of the application process, and once approved, you will be able to travel to India for your intended purpose. Stay informed about the status of your visa application and follow any additional instructions provided by the embassy or consulate. Congratulations on completing the visa interview, and best of luck with receiving your Indian visa!
Await Approval and Receive Your Visa
While waiting for approval and getting your visa, keep an eye on your email for updates from the embassy or consulate. The visa processing time can vary depending on the workload of the embassy or consulate, but typically it takes a few business days to a couple of weeks to receive a response. Here are some tips to help you navigate this waiting period:
- Check your email regularly: Make sure to regularly check your email, including your spam folder, for any updates or notifications from the embassy or consulate regarding your visa application.
- Be patient: Visa processing can sometimes take longer than expected, so try to be patient and avoid making multiple inquiries that could potentially delay the process.
- Prepare for the approval notification: Once you receive the approval notification, make sure to follow the instructions provided by the embassy or consulate on how to collect your visa.
- Double-check your visa details: Before traveling, double-check all the details on your visa to ensure everything is correct. Any discrepancies should be addressed with the embassy or consulate immediately.
- Plan your trip: As soon as you receive your visa, start planning your trip to India. Book your flights, accommodations, and any other necessary arrangements to make your visit as smooth as possible.
Frequently Asked Questions
Can Belize and Benin citizens apply for an Indian visa online or do they need to visit the Indian Embassy or Consulate in person?
You can apply for an Indian visa online, avoiding the need to visit the embassy in person. The online application process simplifies visa requirements and allows for a convenient and efficient way to obtain your visa.
Are there any specific requirements for Indian visas for Belize and Benin citizens that differ from other nationalities?
When applying for an Indian visa, remember that specific requirements may vary for different nationalities. Make sure to check the documentation needed, visa types, and application process to ensure a smooth and successful application experience.
How long does it typically take to process an Indian visa application for citizens of Belize and Benin?
Processing times for Indian visas for citizens of Belize and Benin can vary, but typically range from 2-7 business days. Visa fees depend on the type and duration of the visa. The application process is straightforward, and visas are usually valid for multiple entries.
Are there any additional fees or charges that Belize and Benin citizens should be aware of when applying for an Indian visa?
When applying for an Indian visa, be aware of potential additional charges. These fees can vary based on the type of visa and processing time chosen. It is important to check the latest fee structure before submitting your application.
Are there any restrictions on the duration or type of visa that can be obtained by citizens of Belize and Benin for travel to India?
There are duration restrictions on the types of visas available for citizens of Belize and Benin traveling to India. Make sure to check the specific visa types and their allowed lengths of stay before applying.
Conclusion
In conclusion, make sure you have all the necessary documents and information ready before applying for your Indian visa.
Follow the steps outlined in this article to ensure a smooth and successful application process.
Remember to pay the visa fee, schedule an appointment, attend the interview, and patiently await approval.
Once you receive your Indian visa, you’ll be one step closer to exploring the rich culture and beautiful landscapes of India.
Safe travels!